Blog
How to make a webtoon: a step-by-step guide for beginners
How to make a webtoon from idea to upload: plan episodes, design the cast, pace the scroll, colour, letter and export at the right size.
Published September 25, 2026 · 7 min read
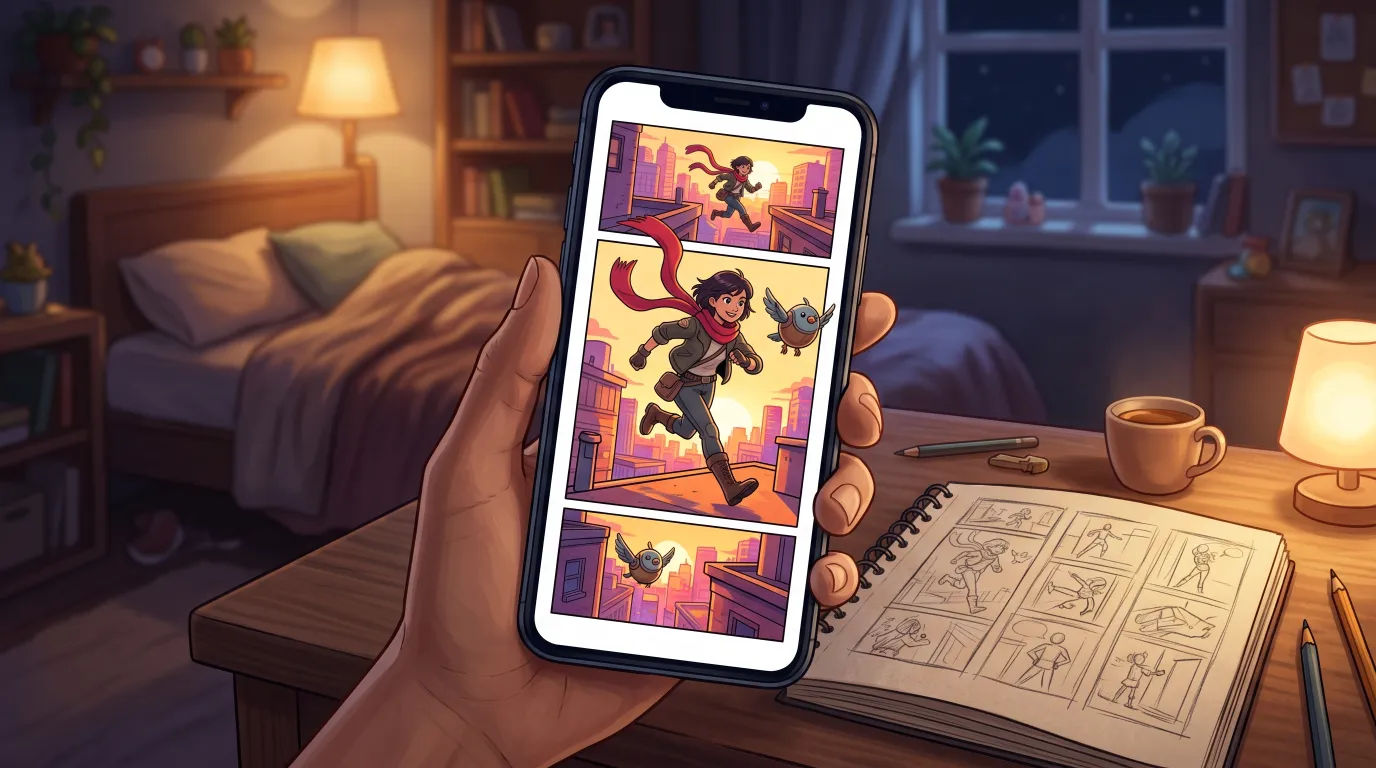
Webtoons have become one of the most popular ways to read comics, and one of the easiest to start: no printer, no fixed page count, just a phone-shaped strip and a story told one scroll at a time. Making one still takes planning. This step-by-step guide covers how to make a webtoon from the first idea to the uploaded episode, the sizes that matter, and how to do it faster with MangaMade if you would rather write than draw every panel.
What makes a webtoon different
A webtoon has no pages. Each episode is one long vertical strip, read from top to bottom with the thumb, almost always in full colour. The reader sees about one screen at a time, so panels are usually full width, stacked one under another with generous white space between them. Left and right only matter inside a panel, where balloons follow the direction of the language. The format grew up online in South Korea and is now read worldwide, mostly on phones.
That changes how you write as much as how you draw. There is no page turn to hide a surprise behind; the scroll does that job instead.
Step 1: Plan the series and the episodes
Start with the whole story before the first episode. Write a premise in two sentences, the main characters and what they want, the world they live in and roughly where the story ends. Then cut it into episodes. Webtoons are usually released on a schedule, weekly or every two weeks, so each episode needs to move the plot or a relationship forward and end on a hook.
- Build a buffer: finish at least three episodes before you publish the first, so one slow week does not break your schedule.
- Open strong: the first episode decides whether a reader subscribes, so introduce the hero and the central question early.
- End on a question: a reveal, a threat or a decision left hanging, placed at the very bottom of the strip.
Step 2: Design the cast
Readers follow faces for dozens of episodes, so every main character needs a reference: a model sheet showing them from the front, three-quarter, side and back, with a few key expressions and their colours. Keep silhouettes distinct, give each character one detail that reads even in a small panel, such as a red scarf or a white streak of hair, and fix the palette now, because colour is part of who they are in a webtoon.
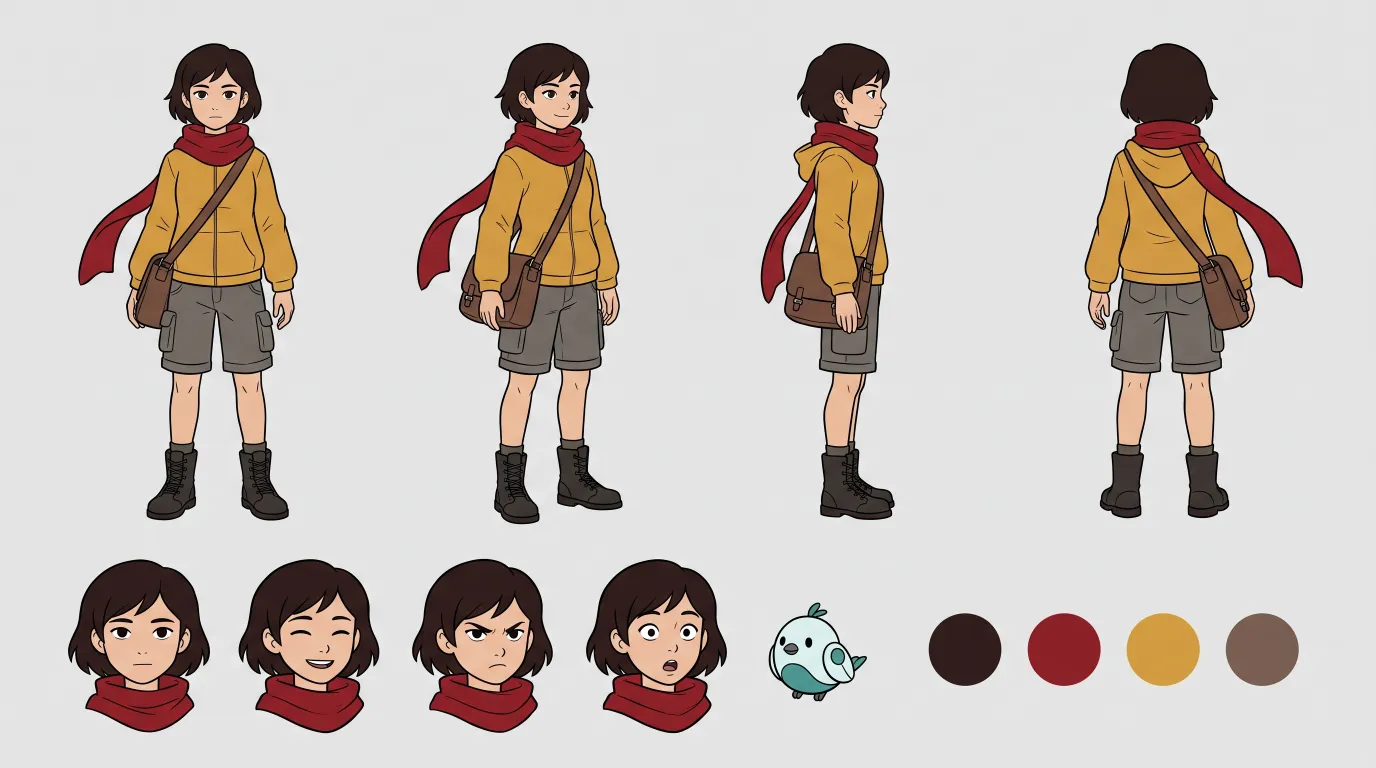
In MangaMade, a model sheet like this is drawn for 2 credits, or you can upload your own for free. Every panel with that character is drawn against it, which is what keeps them on model from episode to episode.
Step 3: Write the script and thumbnail the strip
A webtoon script lists panels rather than pages: for each one, the shot, the setting, who is in it, what happens and what is said. Keep dialogue short, ideally a line or two per balloon, because a phone screen is narrow. Then sketch tiny thumbnails of the whole strip, top to bottom, to check the flow before any finished art: where the eye lands, where the reader pauses, where the big moment sits.
In MangaMade, the planner writes this script from a brief in plain prose: up to 24 segments per chapter, each with one to three panels, a shot, a setting, the characters and up to three lines of dialogue per panel. You can rewrite any of it before a single panel is drawn.
Step 4: Pace the scroll
Pacing is where a webtoon is won or lost. In a vertical strip, the space between panels becomes time, and the height of a panel becomes duration. A few rules of thumb:
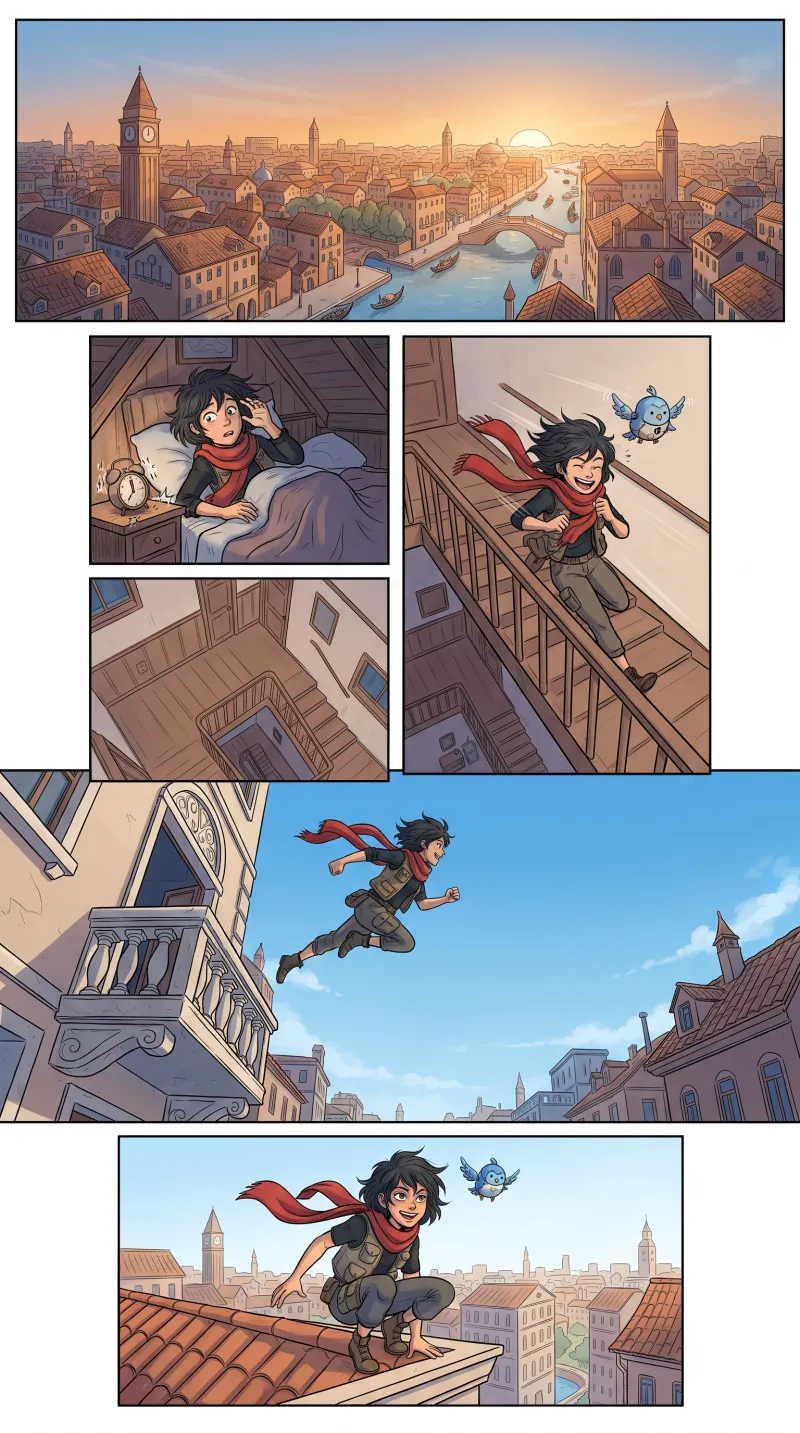
- A long gap reads as a pause or a change of scene; a short gap keeps the action continuous.
- A tall panel is a slow reveal: the reader scrolls through it, so put the punch at the bottom.
- A run of small, tight panels reads fast, which suits action and comic timing.
- Wide establishing shots belong at the start of a scene, close-ups at the emotional peak.
- The final panel of a stretch should pull the thumb down to the next one.
MangaMade builds webtoon chapters from segments 800 px wide. A segment stacks one, two or three full-width panels in shapes from tall to wide, separated by 120 px gutters and drawn without borders. Its planner is told to build each segment toward its last panel and to let a reveal open the next one.
Step 5: Colour and lettering
Most webtoons use clean flat colour with bold outlines, which stays readable on a small, bright screen. Keep the palette consistent per location and time of day so the reader always knows where they are. MangaMade’s Flat colour preset is made for this; Painted colour, Watercolour and Chibi are in colour too, and the black-and-white presets work for a moodier strip.
Lettering goes on last, on its own layer. Balloons should sit in the empty space above or beside the speakers, read in order from top to bottom, and never cover a face. In MangaMade, panels are drawn without any text, the balloons, captions and sound effects are placed from the script, and you can move, rewrite or translate them at any time without redrawing.
Webtoon size and export settings
There is no single official size, but the common upload format for vertical-scroll platforms is a strip 800 px wide, cut into image slices up to 1280 px tall. Many artists draw at twice that width and scale down for a sharper result. Keep important art and balloons away from the cut lines where you can.
MangaMade’s webtoon export joins the segments of a chapter into one strip 800 px wide and cuts it into numbered PNG slices up to 1280 px tall, or shorter, down to 400 px, if a platform asks for it. The same chapter can also be exported as a PDF or a CBZ, and shared as a read-only link that shows it as one continuous strip.
Make a webtoon with MangaMade
Put together, an episode takes six steps:
- Start a series with the webtoon format and the Flat colour style, and describe the premise, the setting and the tone.
- Add the cast and draw a model sheet for each character, after the series’ style reference.
- Write a brief for the episode and let the planner turn it into segments and panels.
- Edit the script, then draw the panels for 1 credit each, and redraw any that miss with a short note.
- Adjust the lettering in the editor, or translate the episode into another language for free.
- Export the slices and upload them wherever you publish.
An episode of 12 segments with two panels each is 24 panels, so 24 credits once the cast is set up. A new account starts with 15 free credits, valid for 30 days, which is enough to try the whole path on a short opening.
Questions this answers
- What size should a webtoon be?
- The common format is a strip 800 px wide, uploaded as slices up to 1280 px tall. Many artists work at twice that width and scale down. MangaMade exports webtoon chapters at 800 px wide, in slices up to 1280 px tall.
- How many panels are in a webtoon episode?
- There is no fixed rule; it depends on the story and the release schedule. In MangaMade, a webtoon chapter can have up to 24 segments of one to three panels each, and the planner aims for the length you ask for.
- Can I make a webtoon without drawing?
- Yes. In MangaMade you write the story and describe the characters, an image model draws each panel in the series style against the characters’ model sheets, and you letter and export the result. Uploading your own sheets and style sample is free if you do draw.
- Should a webtoon be in colour?
- Most are, often in flat colour with bold outlines, because they are read on bright phone screens. It is a choice, not a rule: MangaMade’s black-and-white presets work in the webtoon format too.
- How many episodes should I finish before publishing?
- Most guides suggest a buffer of at least three finished episodes, so you can keep a regular schedule even when a week goes badly.
Make your next chapter
Turn your story into lettered pages: model sheets for your cast, AI-drawn panels and exports in PNG, PDF, CBZ or webtoon.
Start freeKeep reading
- Manga panel layout: how to storyboard a page that reads
- How to make a manga chapter with AI, step by step
- How to keep characters consistent across panels
- Manga vs manhua vs webtoon: formats and reading direction
- Speech balloons and lettering basics for manga and comics
- How to export a comic for vertical scroll and for print
- AI art and copyright: what you own when you make comics with AI
- AI manga generator: how to turn text into manga pages